
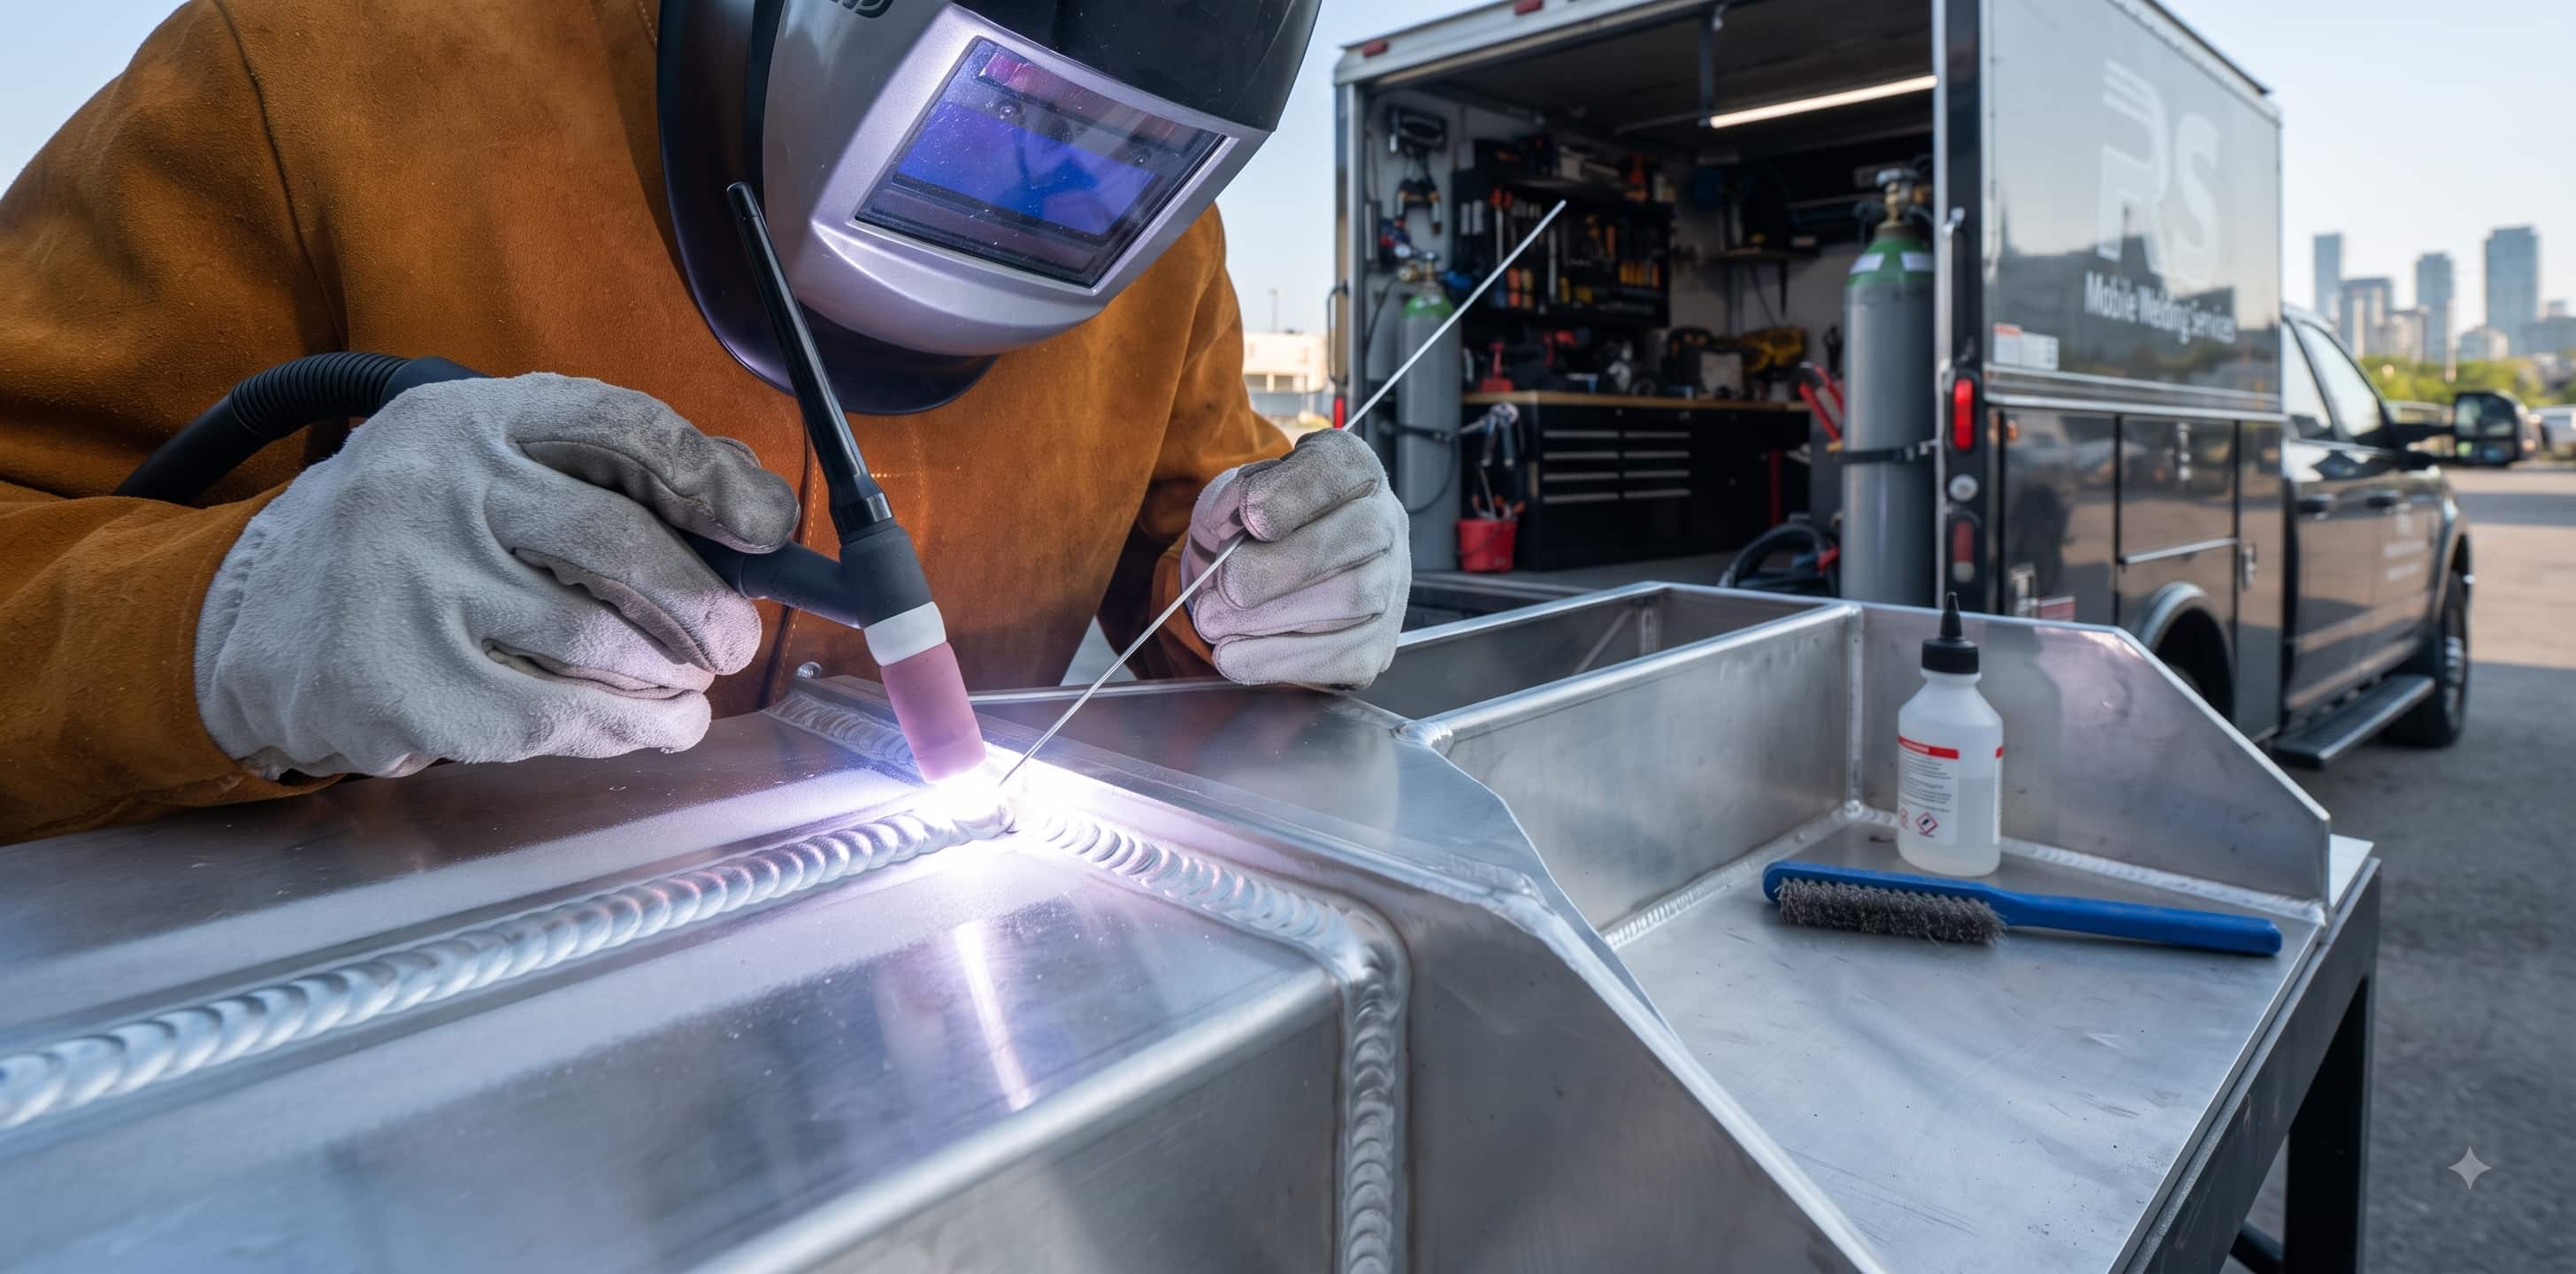
Aluminum gives many fabricators their toughest shop challenge. Unlike mild steel, which gives clear visual cues and forgives minor setup errors, aluminum conducts heat rapidly. It also forms a stubborn oxide skin immediately upon exposure to air.
When you need high structural integrity, precise penetration, and clean cosmetic beads, Gas Tungsten Arc Welding (GTAW), commonly called TIG welding, is the ideal process. TIG gives you complete control over heat input, puddle formation, and filler metal addition.
Whether you repair a boat hull, build custom intercooler piping, or fabricate structural frames across Toronto and the GTA, mastering aluminum TIG welding requires understanding how the metal behaves under the arc.
1. What Is TIG Welding Aluminum?
TIG welding uses a non-consumable tungsten electrode held in a torch to create an electric arc. This arc melts the base metal. Pure argon shielding gas flows through the torch nozzle to protect the molten puddle from atmospheric contamination. You manually feed a bare filler wire into the puddle using your free hand while controlling heat output with a foot pedal.
When welding aluminum, the machine must run on Alternating Current (AC). Alternating current flips back and forth between two phases:
- Electrode Positive (EP): Strips away the tough aluminum oxide layer from the metal surface through cleaning action.
- Electrode Negative (EN): Directs heat deep into the base metal to create penetration while keeping the tungsten electrode cool.
Balancing these two phases gives TIG welding its precision. You get a clean base metal surface and controlled penetration without melting your torch electrode. Read our detailed guide on how a TIG welder works to learn more about machine mechanics.
2. Why Is Aluminum Difficult to TIG Weld?
Aluminum behaves differently than almost any other common structural metal. Understanding its physical characteristics helps you anticipate problems before touching torch to metal.
The Oxide Layer
Aluminum forms an aluminum oxide skin on its surface instantly when exposed to air. This oxide layer melts at roughly 2,072°C (3,762°F). However, the pure aluminum underneath melts at only 660°C (1,220°F).
If you attempt to weld through the oxide without clearing it, the base metal melts underneath while the skin stays solid. This causes the puddle to collapse or ball up in dirty clumps.
High Thermal Conductivity
Aluminum conducts heat roughly five times faster than carbon steel. When you strike an arc, heat flees from the joint into the surrounding metal instantly. You need high initial amperage to form a puddle. Once the workpiece saturates with heat, the metal melts rapidly, requiring you to ease off the foot pedal quickly to avoid burn-through.
No Visual Color Change
Steel turns cherry red and then bright yellow before it melts. Aluminum gives no visual warning. It keeps its silver appearance right up to its melting point, shifting suddenly from solid metal to a fluid puddle.
Contamination and Porosity
Molten aluminum acts like a sponge for hydrogen gas. Moisture, cutting oil, grease, paint, or dirt on the surface dissolves into the liquid weld puddle. As the weld cools, trapped hydrogen creates internal bubbles known as porosity.
3. What Equipment Do You Need to TIG Weld Aluminum?
Setting up your machine properly eliminates half the struggle before you strike an arc.
AC/DC TIG Welder
You need a power source capable of AC output with High-Frequency (HF) arc initiation. High frequency keeps the arc going without touching the tungsten to the metal, preventing tungsten contamination. Modern inverter-based TIG machines allow you to adjust AC balance (the ratio of EN to EP) and AC frequency.
Tungsten Electrodes
Skip 2% Thoriated (red) tungsten for aluminum; it works poorly on AC. Instead, choose:
- 2% Lanthanated (Blue): Excellent all-around performance on inverter TIG machines. Holds a point well under AC output.
- Pure Tungsten (Green): Traditional choice for older transformer machines. It naturally balls at the tip under AC current.
- Ceriated (Grey): Delivers good arc stability at lower amperages.
Shielding Gas and Gas Lens
Use 100% Pure Argon. For material thicker than 3/8 inch, adding 25% to 50% Helium increases heat transfer and arc temperature. Pair your torch with a gas lens collet body. Gas lenses smooth out gas flow into a stable stream, improving shielding and preventing draft contamination.
Filler Wire
Match your filler wire alloy to the base material:
- ER4043: Contains 5% silicon. Flows smoothly, resists heat cracking, and works well for general 6061-T6 fabrications.
- ER5356: Contains 5% magnesium. Offers higher tensile strength and better color match if the part will be anodized.
| Equipment | Standard Recommendation | Primary Purpose |
| Power Source | Inverter TIG with AC Balance & HF Start | Enables oxide cleaning and precise arc control |
| Shielding Gas | 100% Pure Argon (15–20 CFH) | Protects puddle from atmospheric oxygen and nitrogen |
| Torch Setup | Air-cooled or Water-cooled with Gas Lens | Delivers smooth, uniform gas coverage |
| Tungsten | 3/32″ or 1/8″ 2% Lanthanated | Maintains a pointed tip under AC current |
| Filler Wire | ER4043 or ER5356 | Adds reinforcement matching base metal alloy |
For specialized shop projects or field repairs, exploring professional precision TIG welding services ensure your equipment setup meets code standards.
4. How to TIG Weld Aluminum: Step-by-Step
Follow this practical procedure to execute clean, sound aluminum welds consistently.
-
Identify the Alloy and Prep the Joint
Identify your aluminum grade when possible. Grind a bevel on materials thicker than 1/8 inch to ensure full joint penetration. Deburr all edges using a dedicated aluminum carbide burr.
-
Degrease and Wire Brush
Wipe the joint down with pure acetone using a clean cloth to remove oils, grease, and fingerprints. Brush the joint vigorously using a stainless steel wire brush reserved exclusively for aluminum. Brush in one direction only to lift oxide skin without smearing oil deeper into the metal.
-
Set Up Machine Parameters
Set your machine to AC mode and High Frequency start. Set your AC balance around 70% to 75% Electrode Negative (EN) for solid penetration with adequate cleaning action. A baseline for amperage is roughly 1 amp per 0.001 inch of material thickness.
-
Prepare Your Tungsten
Grind your Lanthanated tungsten to a sharp point on a dedicated grinding wheel, then flatten the tiny tip slightly to create a truncated cone. On AC inverter machines, the tungsten forms a rounded micro-ball at the end without melting completely.
-
Establish the Arc and Form the Puddle
Hold the torch at a 75- to 80-degree angle relative to the plate with an arc length of roughly 1/16 to 1/8 inch. Press the foot pedal down to strike the arc. Hold stationary for 2 to 3 seconds until a bright, shiny puddle forms, surrounded by a frosted white etching ring.
-
Add Filler Metal and Travel
Dab the leading edge of the filler rod directly into the front of the molten puddle. Avoid touching the tungsten with the filler wire. Withdraw the rod slightly, move the torch forward 1/16 inch, pause, and dab again. Keep the end of the filler rod inside the shielding gas envelope throughout the pass.
-
Manage Heat Input and Terminate
As the workpiece absorbs heat, ease back on the foot pedal to drop amperage. This prevents the puddle from widening out of control. When reaching the end of the joint, hold the torch in place and taper off the foot pedal gradually while adding a final dab of filler to fill the end crater.
5. How to Get Clean TIG Welds on Aluminum
Achieving that bright, clean bead appearance requires control over your welding environment and torch mechanics.
Adjust AC Frequency for Focused Arc Control
Standard inverter machines let you adjust AC frequency between 50 Hz and 250 Hz. Factory defaults usually sit around 60 Hz. Raising the frequency to 100–120 Hz tightens the arc cone, increases stability, focuses heat density, and prevents the arc from wandering inside tight fillet joints.
Maintain a Short Arc Length
Long-arc welding is the single biggest cause of dirty aluminum welds. When you lift the torch too far off the plate:
- Arc voltage increases, widening the heating cone.
- Atmospheric air gets pulled under the gas cup, oxidizing the puddle.
- The arc loses direction, causing soot along the weld toes.
Keep your tungsten tip within 1/16 inch of the molten pool.
Clean Your Filler Rods
Filler rods accumulate dust, shop grease, and oxides during storage. Before sitting down to weld, wipe your filler rod down with acetone. Store unused filler wire in sealed plastic tubes to keep it clean.
If your project involves marine-grade aluminum, structural tubing, or custom tanks, hiring professional aluminum welding services ensures proper surface prep and process controls from start to finish.
6. Common TIG Welding Aluminum Problems and How to Fix Them
When welds turn grey, porous, or cracked, use this troubleshooting guide to correct the root cause.
| Problem | Potential Root Cause | Corrective Action |
| Porosity (Pinholes) | Oil, grease, moisture, or draft pulling air into gas stream | Clean joint with acetone; check gas hoses for leaks; set flow rate to 15–20 CFH. |
| Black Soot / Dirty Weld | Arc length too long; insufficient argon shielding; low EN balance | Shorten arc length; check argon purity; increase AC balance to ~70% EN. |
| Centerline Cracking | Joint under high restraint; wrong filler alloy; unfilled crater | Switch from ER4043 to ER5356 filler; taper pedal down slowly at weld termination. |
| Tungsten Balling Excessively | Too much EP balance; amperage too high for tungsten size | Raise EN balance to 75%; step up from 3/32″ to 1/8″ tungsten diameter. |
| Lack of Penetration | Amperage too low; travel speed too fast; cold material | Increase baseline amperage; slow initial travel speed; preheat thick parts to ~150°F (65°C). |
| Burn-Through / Sagging | Excessive heat buildup in material during long passes | Ease back on foot pedal as part heats up; use aluminum or copper chill blocks. |
7. TIG Welding vs. Aluminum Spool Gun Welding
Shops use both TIG and Spool Gun MIG (Metal Inert Gas) welding for aluminum work. Understanding the distinction helps you pick the right process for your application.
| Factor | TIG Welding (GTAW) | Spool Gun MIG (GMAW) |
| Torch Operation | Two-handed manual control | One-handed continuous wire feed |
| Aesthetic Quality | Excellent visual appeal (“stacked dimes”) | Functional, wider bead profile |
| Material Thickness | Best for thin sheet, tubing, and light plate | Best for 1/4″ and thicker plate |
| Heat Control | Precise pedal control | Constant preset voltage and wire speed |
| Deposition Speed | Slower, precise deposition | Fast deposition for long seams |
When to Choose TIG Welding
- Welding thin material (under 1/8 inch) where precise heat control prevents burn-through.
- Applications requiring visual appeal, such as automotive intake piping, handrails, or custom furniture.
- Complex joints, out-of-position welds, or tight radius tubing.
When to Choose Aluminum Spool Gun Welding
- Heavy structural plate or marine aluminum (1/4 inch thickness and greater).
- Long linear production seams where high deposition speed cuts labor costs.
- Commercial trailer repairs or deck plate fabrication where speed takes priority over cosmetic appearance.
8. What Types of Aluminum Can Be TIG Welded?
Not all aluminum alloys weld the same way. The alloy series dictates filler wire selection and joint prep rules.
- 1000 Series (Pure Aluminum): Commercially pure aluminum (e.g., 1100). Highly corrosion-resistant and soft. Welds easily using ER1100 or ER4043 filler wire.
- 3000 Series (Manganese Alloys): Moderate strength sheet metal alloys (e.g., 3003). Common in heat exchangers and architectural sheet metal. Welds easily with ER4043 filler.
- 5000 Series (Magnesium Alloys): High-strength, marine-grade structural alloys (e.g., 5052, 5083). Offers excellent salt-water corrosion resistance. Always use ER5356 or ER5556 filler wire to match magnesium content.
- 6000 Series (Silicon & Magnesium Alloys): Extrusions, angle stock, structural tubing, and plate (e.g., 6061-T6). Widely used across industrial fabrication. Weldable with ER4043 or ER5356. Note that welding reduces heat-treated strength near the weld zone.
- 7000 Series (Zinc Alloys): High-strength aerospace alloys (e.g., 7075). Most 7000-series alloys are non-weldable for structural purposes due to severe hot-cracking tendencies.
9. When Should You Hire a Professional Aluminum Welder?
TIG welding aluminum requires practice, proper equipment, and steady hands. While DIY enthusiasts can handle light hobby projects, commercial and structural jobs demand professional execution.
Consider hiring a professional aluminum welder in your city when dealing with:
- Structural Integrity: Load-bearing frames, overhead trusses, certified marine structures, or vehicle modifications where weld failure presents safety hazards.
- Pressure Vessels & Fuel Tanks: Liquid-tight containment requiring defect-free welds with zero porosity.
- On-Site Mobile Needs: Large, fixed industrial equipment or structural gate repairs that cannot travel to a shop floor.
- Thick Plate & High-Amperage Work: Material thicker than 1/4 inch requires heavy-duty 300A+ water-cooled TIG systems or preheating equipment.
RS Mobile Welding Services provides fully equipped mobile TIG and aluminum welding units across Toronto and the Greater Toronto Area (GTA). Bringing shop-grade AC TIG equipment, argon supplies, and certified welding expertise directly to your site saves transport downtime while ensuring high weld quality.
Frequently Asked Questions
Can you TIG weld aluminum?
Yes, TIG welding (GTAW) is one of the best methods for welding aluminum. It offers precise heat control, strong penetration, and clean visual appearance on both thin and thick alloys.
What gas is used for TIG welding aluminum?
100% Pure Argon is the standard shielding gas used for TIG welding aluminum. For material thicker than 3/8 inch, an Argon/Helium mixture increases heat input and penetration.
Does TIG welding aluminum require AC?
Yes, TIG welding aluminum requires Alternating Current (AC). The positive half of the cycle cleans off the tough surface oxide layer, while the negative half delivers heat penetration into the base metal.
What tungsten is best for aluminum TIG welding?
2% Lanthanated (blue tip) tungsten is widely considered the best choice for modern inverter TIG welders running AC, as it holds a stable point without excessive balling.
What filler rod is used for aluminum TIG welding?
ER4043 and ER5356 are the two most common filler wires. ER4043 flows smoothly and works well for general 6061 fabrication, while ER5356 offers higher strength on marine-grade 5000-series alloys.
Why does aluminum get dirty when TIG welded?
Aluminum gets dirty during welding due to surface oils or oxidation, improper torch angle, insufficient argon gas coverage, or holding the tungsten tip too far from the workpiece.
Is TIG welding aluminum difficult?
TIG welding aluminum is more challenging than welding mild steel because aluminum conducts heat rapidly, shows no color change when melting, and requires meticulous surface cleaning.
Can thin aluminum be TIG welded?
Yes, TIG welding is ideal for thin aluminum sheet and tubing because fine foot pedal control allows you to manage heat input accurately and prevent burn-through.
What is the difference between TIG and spool gun welding?
TIG welding uses a manual tungsten torch and separate filler rod for maximum precision and clean cosmetics. Spool gun welding feeds continuous wire directly through a gun handle motor for high-speed, heavy-plate fabrication.
When should I hire a professional aluminum welder?
Hire a professional welder for structural components, pressure vessels, fuel tanks, heavy plate, marine applications, or on-site mobile repairs where structural safety and exact puddle control are mandatory.
Need Professional Aluminum TIG Welding in Toronto or the GTA?
Whether you need precision shop fabrication or on-site mobile aluminum repairs, RS Mobile Welding Services brings certified TIG welding capabilities directly to your site across Toronto, Mississauga, Brampton, Vaughan, and the surrounding GTA. Contact RS welding team today to discuss your aluminum welding specifications or request an on-site project estimate.

RS Welding
" Raj and Khushmeet lead RS Mobile Welding Service with 25+ years of experience delivering expert welding and fabrication across Toronto and the GTA. Backed by Canadian Welding Bureau certification, their team handles everything from emergency repairs to custom metal work with precision, safety, and reliability. When you need mobile welding done right, RS gets it done right."